How To Edit Your WordPress Website
How to Edit Your WordPress Website
How to Log In to WordPress
When launching a new WordPress website for a client, I give them a 20 minute tutorial on how to use the edit tools to do a website update. I’m going to start at the top and share with you everything I share with my clients including how to add a photo, how to add an internal or external link etc.
LOGGING IN to the WordPress Dashboard
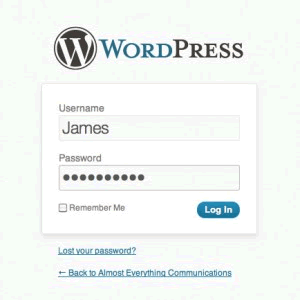
Your web person will give you a login link like this sample one: http://almost-everything.com/wp-admin/(sample) You’ll also need a Username and a Password.
WORDPRESS POSTS vs. PAGES
Once you are logged in, you’ll find yourself on the WordPress Dashboard. I’m going to show you how to do a website update.
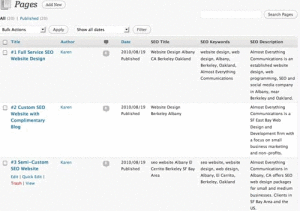
Click on the Pages button and All Pages of your site (see image below). This index will show the first 20 pages of your site. If there are more than 20 pages, use the search pages box in the right hand corner or the next page function also in the top right hand corner to find those pages.
To Edit a page just mouse over the space below the name of the page. A short menu that says edit / quick edit / trash / view will appear. Edit is to add or delete content, photos etc. Quick Edit just lets you update the page name, slug and a few other things like that.
WordPress Pages
Once you are logged into the Edit mode you’ll find a blue scroll bar that allows you to see different parts of the text. You can also use the lower right corner of the edit box to expand what you can see in the edit box. Very helpful for longer pages. However, it’s hardly visible. Look for it by your name and the date and time…where there is a little triangle texture. Grab hold and pull down.
SAVING WHAT YOU EDIT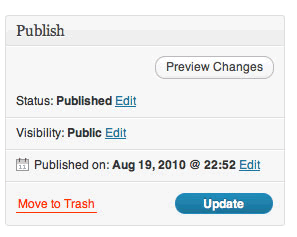
On the right hand side of the screen you’ll find a box with a bright blue update button (in photo at right). Clicking saves your changes and uploads them to the site. You can use the preview changes button to see your changes.
WYSIWIG Editor – HOW TO ADD A LINK
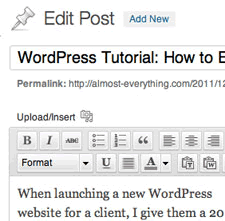
This is the most important part of the tutorial. The WYSIWIG Editing tools (acronym for what-you-see-is-what-you-get) look a lot like editing tools you’ll find on Microsoft Word and other places. There a few things that differ and are particularly helpful; one of those is the add a link feature. You’ll find the add a link / delete a link button in the middle of the top line and it looks like a sideways figure 8 or a link.
How to Make a Link in WordPress
First, use your cursor to highlight the text you want to link, then click the link button. Add the url. There is a title space where you can put a keyword rich description of the link. Finally, I also advise clients to click the box for “open in a new page” as it helps keeps visitors on the page.
You can use the link tool to add internal links between pages. Linking your most important keywords internally is likely to help your SEO. You can also add links to other sites with ease. This is great for exchanging links and providing helpful info. Use judiciously as you do want to keep visitors on your site.
HOW TO ADD A PHOTO
Above the WYSIWIG editor there is a line that says Upload / Insert. Click on the icon to add a photo. This works the same as Facebook, Picasa, Snapfish, etc. When starting out, click on Browse to select a photo from your computer. Later on, if you are reloading a photo that’s you have used before, find it in the media library. That’s another feature I love.
Again. Each photo receives a title and an alt. tag or alternative tag. The alt. tag is one of the items that Google analyzes when accessing your website so include it every time.
WordPress Dashboard
APPEARANCE SECTION of Dashboard, including Users & WordPress Plugins. Tread carefully in the Appearances section as this is where all your site files reside. If your site has plugins you are likely to receive notices to update the plugins and the WordPress template itself. Ask your web developer about whether it’s OK to update the WordPress template and plugins.
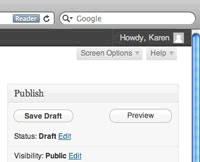 HELP MENU for other tasks
Last but not least, the Help menu is located in the upper right corner (see image below). The help section has photo examples like this post and you can search it by topic. Quite helpful really!

